Photoblog
About
Guestbook
Links
Best Pictures
Archives
Prints
Recent Comments
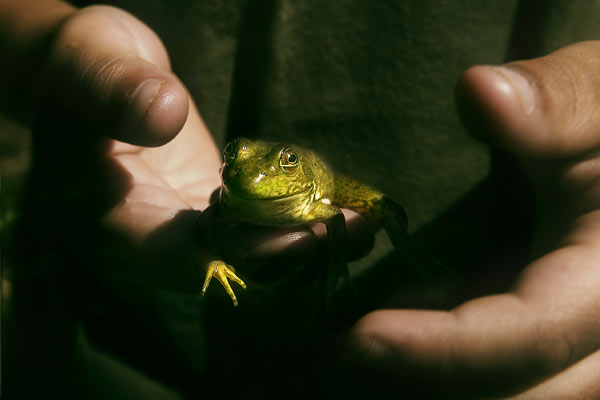
Frog
May 24, 2005
(Click here for a larger version.)
« Before
|
After »
Photo Info & Viewer Comments (3)